
baking recipes notes
Baking Recipes Notes
Baking is like painting; each ingredient is a color that creates a delicious masterpiece. You might wonder why measuring flour accurately or using room temperature butter matters. These small details can greatly impact your baked goods. Understanding the signs of doneness and how to customize recipes can elevate your baking. So, what are the essential notes that can transform your kitchen creations into something extraordinary? Let’s explore them together.
Why You’ll Love This Recipe
When you try this baking recipe, you’ll quickly see why it stands out. First, it’s simple and uses ingredients you likely already have at home. You won’t need any fancy tools, just basic measuring cups and a mixing bowl.
The steps are straightforward, making it perfect for beginners and experienced bakers alike. The flavors blend beautifully, creating a delicious treat that everyone will enjoy.
Plus, the baking time is reasonable, allowing you to serve something fresh without waiting too long. You’ll also appreciate how versatile this recipe is; you can easily customize it with your favorite mix-ins.
History
Baking has a rich history that dates back thousands of years, reflecting the evolution of cultures and cuisines around the world. Early civilizations, like the Egyptians, used simple grains and water to create flatbreads.
As time passed, baking techniques advanced, with the introduction of ovens in ancient Rome. These innovations allowed for more complex recipes and diverse baked goods.
In the Middle Ages, the art of baking spread throughout Europe, influenced by trade and exploration.
By the 19th century, baking began to transform with the development of baking powder and new technologies.
Today, you enjoy a variety of baked items, from artisanal breads to intricate pastries, all rooted in this fascinating history of culinary growth and cultural exchange.
Recipe
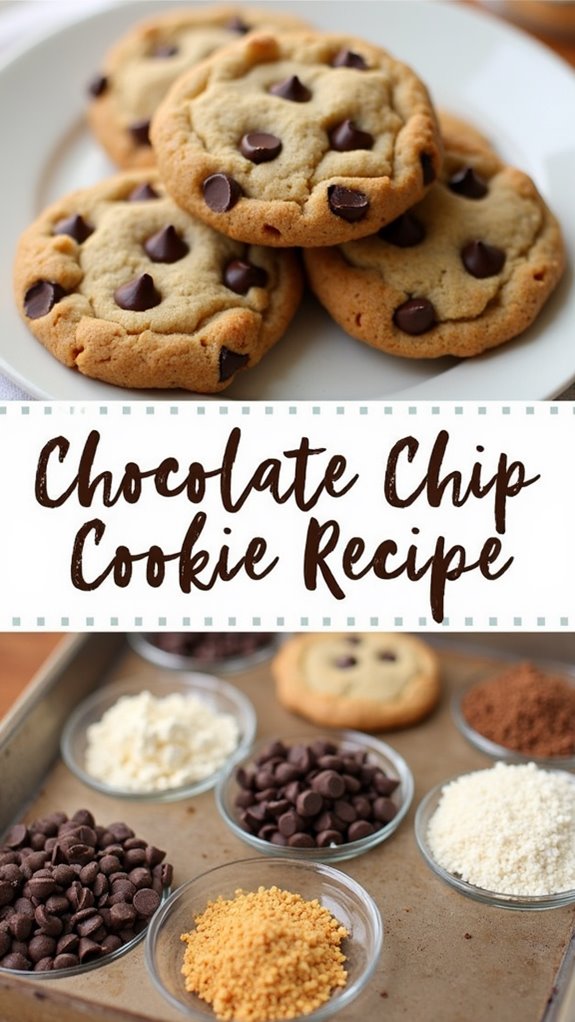
Ingredients:
– 2 1/4 cups all-purpose flour
– 1 teaspoon baking soda
– 1/2 teaspoon salt
– 1 cup unsalted butter, softened
– 3/4 cup granulated sugar
– 3/4 cup packed brown sugar
– 1 teaspoon vanilla extract
– 2 large eggs
– 2 cups semi-sweet chocolate chips
Cooking Instructions:
-
Preheat your oven to 375°F (190°C). Line two baking sheets with parchment paper to prevent the cookies from sticking.
-
In a small bowl, whisk together the flour, baking soda, and salt. Set this mixture aside as you prepare the wet ingredients.
-
In a large mixing bowl, beat the softened butter, granulated sugar, brown sugar, and vanilla extract together until the mixture is creamy and well combined. This should take about 2-3 minutes.
-
Add the eggs, one at a time, mixing well after each addition until fully incorporated.
-
Gradually add the dry ingredients to the wet mixture, stirring until just combined. Be careful not to overmix; a few lumps are okay.
-
Fold in the chocolate chips until evenly distributed throughout the dough.
-
Using a tablespoon or cookie scoop, drop rounded balls of dough onto the prepared baking sheets, spacing them about 2 inches apart.
-
Bake in the preheated oven for 9-11 minutes, or until the edges are golden brown but the centers still look slightly underbaked for a chewy texture.
-
Remove from the oven and let the cookies cool on the baking sheets for 5 minutes before transferring them to a wire rack to cool completely.
Extra Tips:
For the best results, verify all ingredients are at room temperature before you start baking. This guarantees a smoother batter and better incorporation of ingredients.
Additionally, if you prefer crispy cookies, you can bake them a minute or two longer. Storing the cookies in an airtight container will help maintain their freshness for several days.
Enjoy your homemade chocolate chip cookies!
Final Thoughts
While you might be tempted to rush through the baking process, taking your time can make a big difference in the quality of your chocolate chip cookies.
Pay attention to each step, from measuring ingredients accurately to mixing them just right. Don’t skip chilling the dough; this step allows the flavors to develop and results in a better texture.
Also, keep an eye on your baking time; every oven is different, and slight adjustments can prevent overbaking.
Finally, trust your instincts. If something feels off, it’s okay to tweak the recipe.
FAQ
Have you ever wondered about the common questions that arise when baking? You might ask, “Why did my cake sink?” This usually happens due to overmixing or not enough leavening agents.
Another frequent question is, “How do I know when my cookies are done?” Look for a light golden color and a slightly firm edge.
Additionally, you might be curious about ingredient substitutions. If you’re out of eggs, you can use applesauce or flaxseed meal as a binder.
Finally, if you’re unsure about measuring flour, remember to spoon it into your measuring cup and level it off for accuracy.