
White Chocolate Dream Cake Recipe
White Chocolate Dream Cake Recipe
Is a White Chocolate Dream Cake truly as delightful as it sounds? This recipe combines moist gluten-free layers with a creamy white chocolate mousse, making it a tempting choice for any occasion. To find out how to create this impressive dessert, you’ll need to gather your ingredients and follow a few simple steps. The process might seem intimidating, but the results could be worth it. Let’s explore how to make this cake a reality.
Why You’ll Love This Recipe
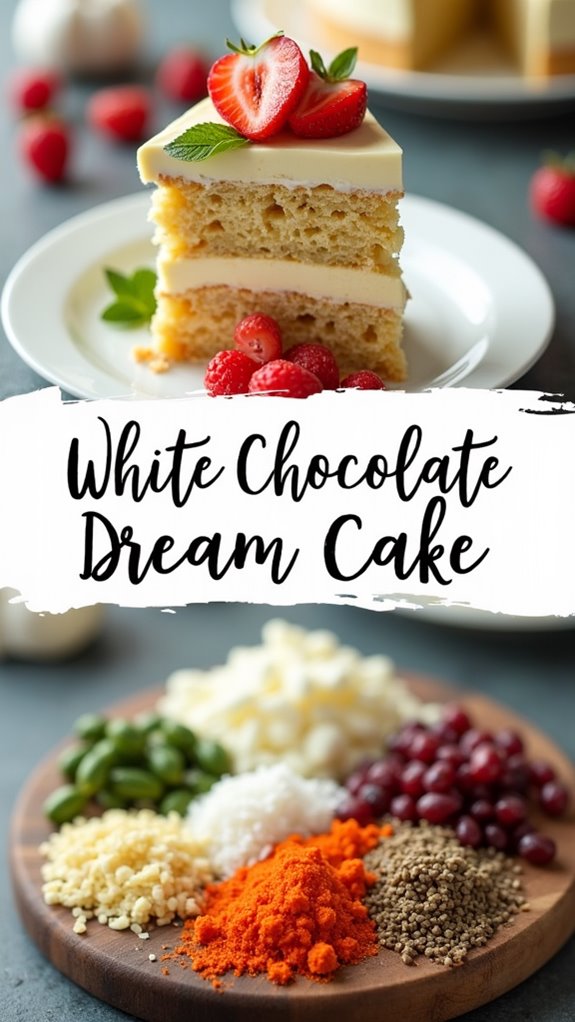
If you’re looking for a dessert that impresses both in flavor and appearance, you’ll love this White Chocolate Dream Cake. This recipe features rich layers of white chocolate mousse and meringue, creating an intense flavor that chocolate lovers crave. You can easily customize the dessert for any occasion, making it suitable for gatherings or celebrations. Plus, it’s gluten-free, so it caters to dietary needs. The dramatic presentation, with stacked meringue disks, fresh raspberries, and chocolate shards, makes it visually stunning. You can prepare the components ahead of time, simplifying the assembly process. Additionally, the White Chocolate Explosion Cake is GMO free, ensuring a quality treat for your guests. Whether you serve it as a large cake or in individual glasses, this cake is sure to leave a lasting impression on your guests.
History
While many people enjoy desserts that feature chocolate, the history behind white chocolate and dream cake reveals fascinating insights about their origins.
White chocolate began as a coating for medicines and was developed by Henri Nestlé in the 1930s. He aimed to create a sweeter alternative to dark chocolate, leading to the launch of white chocolate under the name Galak in Europe.
Meanwhile, the Danish Dream Cake gained fame after winning a baking competition in the 1960s in Hjallerup, North Jutland, and it has since become a national delicacy in Denmark known for its sweet flavor and soft texture.
Today, both white chocolate and dream cake offer unique delights, highlighting the evolution of desserts to cater to diverse tastes.
Recipe
Ingredients:
– 2 cups Gluten-Free 1:1 Flour
– 1 3⁄4 cups Sugar
– 3 large Eggs (room temperature)
– 3⁄4 cup Sour Cream (room temperature)
– 6 oz OliveNation Barry Callebaut White Chocolate Chunks
– 2 sticks Butter (softened)
– 2 1⁄4 cups Powdered Sugar
– 1 1⁄3 teaspoons Vanilla Extract
– 1/4 cup Heavy Cream
– 1 tablespoon Heavy Cream (additional)
– Crushed Oreos
– Peppermint (for decoration)
– Edible Decorations (optional)
Cooking Instructions:
1. Preheat your oven to 350°F (175°C) and prepare three 8-inch round cake pans by greasing them and lining the bottoms with parchment paper.
-
In a large mixing bowl, combine the gluten-free flour, sugar, and eggs. Mix on medium speed until well combined and creamy. Add the sour cream and blend until fully incorporated.
-
Pour the batter evenly into the prepared cake pans and smooth the tops. Bake for 25-30 minutes, or until a toothpick inserted in the center comes out clean. Allow the cakes to cool in the pans for about 10 minutes before transferring them to wire racks to cool completely.
-
While the cakes are cooling, melt the white chocolate chunks in a microwave-safe bowl in 30-second intervals, stirring in between until smooth. Set aside to cool slightly.
-
In a separate bowl, beat the softened butter until creamy. Gradually add the powdered sugar, mixing until fluffy. Pour in the melted white chocolate and beat until well combined. Add vanilla extract and heavy cream, and mix until the frosting is smooth and silky.
-
Once the cakes are completely cooled, place one layer on a serving plate. Spread a layer of Oreo buttercream on top. Repeat with the second layer, then place the third layer on top.
-
Frost the top and sides of the cake with the white chocolate buttercream. Use the Oreo buttercream to frost the sides of the cake. Decorate the edges with crushed Oreos and peppermint, and add any additional edible decorations as desired.
Extra Tips:
For the best results, verify all your ingredients are at room temperature before starting. This will help the batter mix more evenly and create a smoother texture. Additionally, you can customize the flavor by adding almond extract or a splash of rum to the frosting for a unique twist. Remember, you can also explore different flavor profiles by using seasonal variations. Allow the cake to chill in the refrigerator for a bit after frosting to set the layers, making it easier to cut and serve. Enjoy your baking experience!
Final Thoughts
Creating a stunning White Chocolate Dream Cake can be a rewarding experience, and with the right techniques, you can guarantee it turns out perfectly every time. Start by ensuring your baking pans are lined with parchment paper for easy removal. Measure your ingredients carefully using a food scale, and mix wet and dry ingredients separately for the best texture. When it comes to decoration, consider using crushed Oreos and fresh strawberries to enhance both flavor and appearance. You can also try fresh rose petals for a unique touch. Remember, the layers are important when assembling the cake in advance can save you time. With these tips, your cake won’t only taste delicious but look impressive for any gathering. Enjoy your baking adventure!
FAQ
If you’re new to baking or just want to perfect your White Chocolate Dream Cake, you might’ve some questions.
First, bake your cake at 350 degrees Fahrenheit for about 50-55 minutes. Preheat oven to ensure even baking is essential.
Combine dry ingredients first, then add wet ones, mixing well. Remember to add eggs one at a time!
If you want to add fruit, think about raspberries or strawberries for a tasty twist.
If your cake sticks, make sure your pan is well greased.
To keep your cake moist, use sour cream.
For frosting, try cream cheese or a coconut pecan blend.
Always let your cake cool for about 10 minutes before flipping it onto a plate, and enjoy serving it to 12-15 people.